Sustainable Natural Stone: A Timeless Choice for Eco-Friendly Design
In the age of sustainability, the materials we choose for construction and design play a pivotal role in shaping a greener future. Among these, natural stone is sustainable and stands out for its timeless beauty, durability, and its remarkable eco-friendly characteristics. Architects, landscape designers, and builders seek to reduce the environmental impact of their projects. Natural stone offers an eco-friendly option that aligns with aesthetic and ecological goals.
The Enduring Appeal of Natural Stone
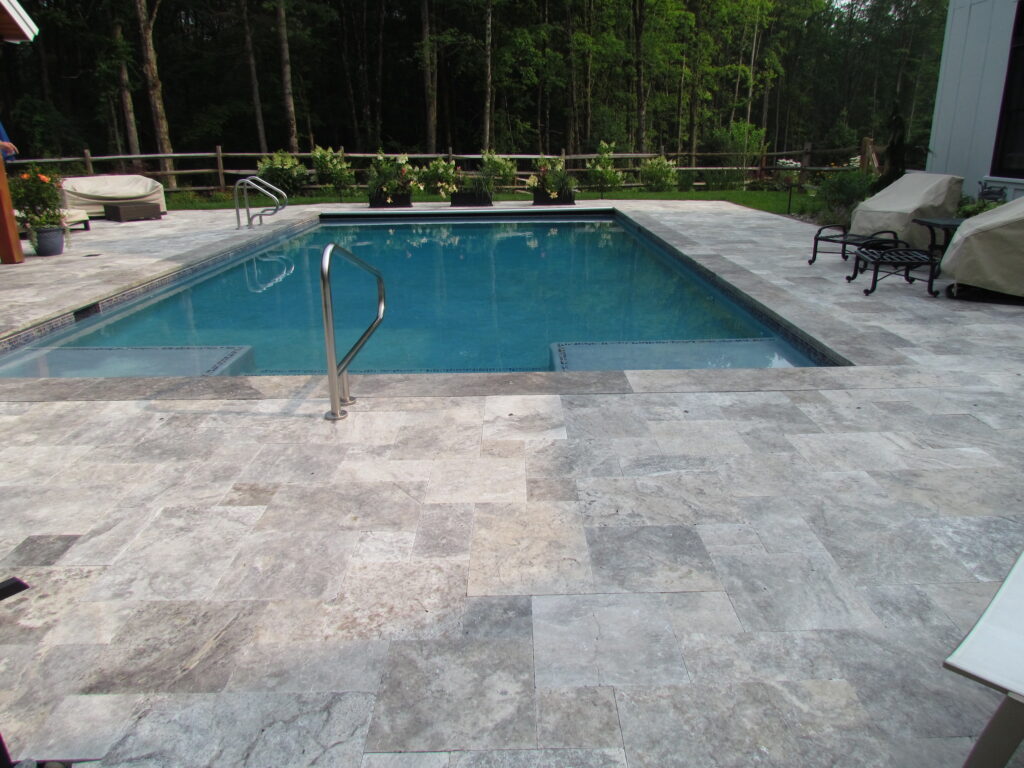
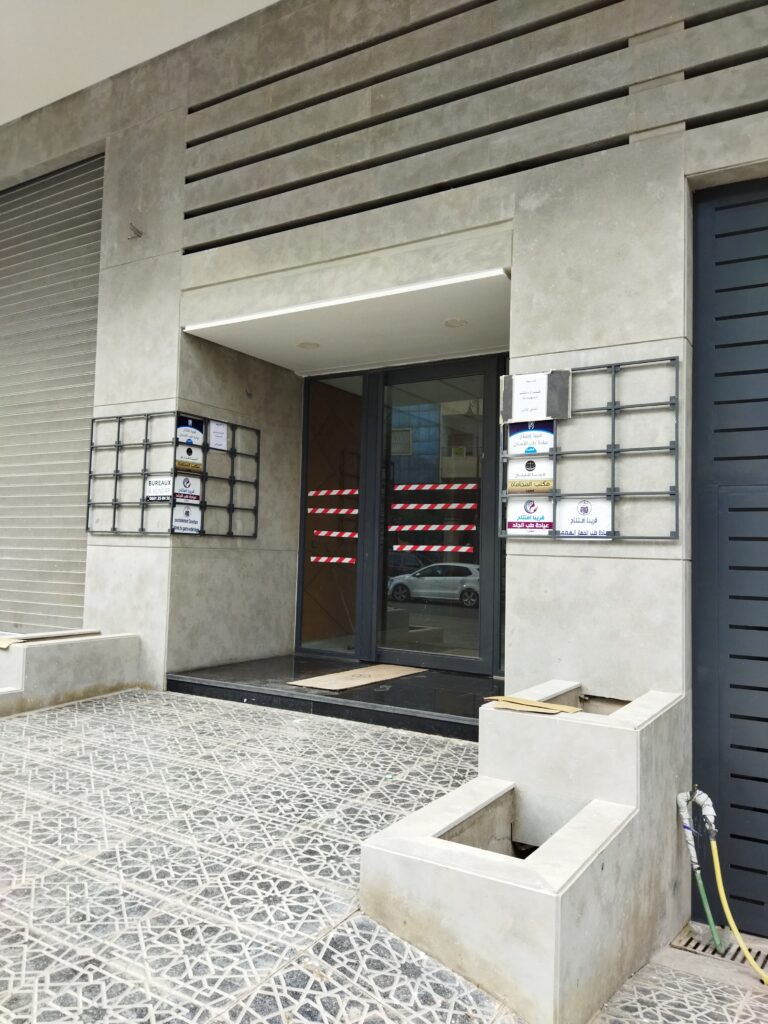
Natural stone has been used in construction for millennia, from the ancient pyramids of Egypt to the Parthenon in Greece. Its enduring appeal lies in its organic beauty, variety, and versatility. Whether it’s granite, limestone, travertine, marble, or slate, each type of stone brings a unique texture, color, and character to a project. This aesthetic richness is complemented by the stone’s inherent strength and longevity. Structures and landscapes remain resilient and visually appealing for generations.
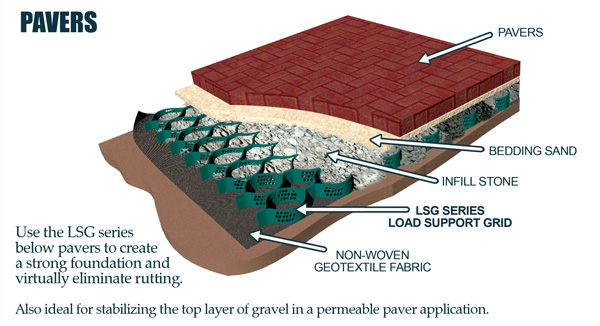
Sourcing and Extraction: Minimizing Environmental Impact
One of the key factors in natural stone’s sustainability is responsible sourcing. Unlike synthetic materials, natural stone requires no chemical processing or harmful manufacturing processes. However, the environmental impact of stone extraction can vary significantly based on practices employed at the quarry.
Sustainable stone quarries focus on minimizing the ecological footprint by:
– Rehabilitating Quarry Sites: After extraction, quarries can be restored to their natural state or repurposed for new uses, such as nature reserves or recreational areas.
– Efficient Use of Resources: Advanced techniques in quarrying reduce waste and optimize the use of natural stone, ensuring that the maximum amount of material is extracted with minimal disruption to the surrounding environment.
Energy Efficiency and Carbon Footprint
Natural stone is also lauded for its low embodied energy, which refers to the total energy required to extract, process, and transport the material. Compared to materials like concrete, brick, or synthetic composites, natural stone has a relatively low carbon footprint. Additionally, its thermal mass properties make it an excellent choice for energy-efficient buildings. Stone’s ability to absorb, store, and release heat can help regulate indoor temperatures, reducing the need for artificial heating and cooling.
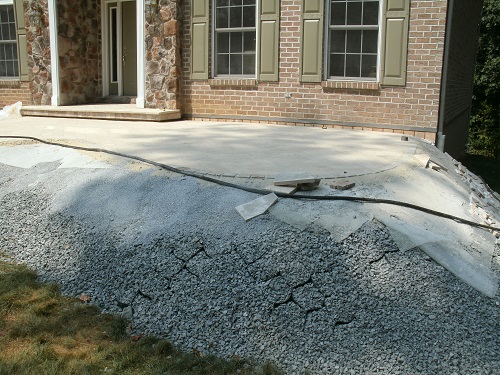
Durability and Longevity: Reducing Waste
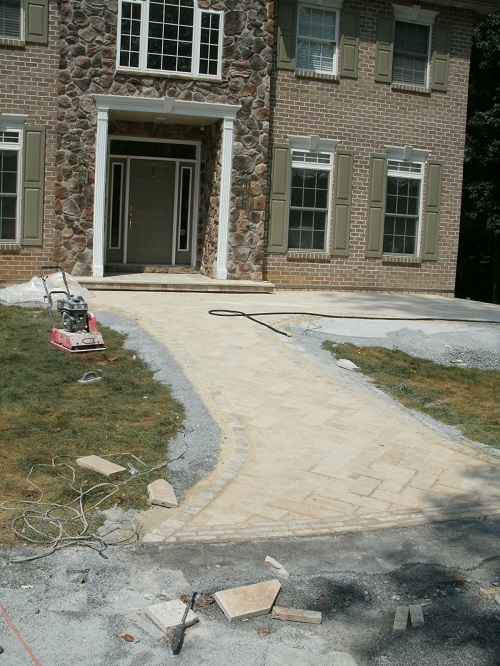
A significant advantage of natural stone is its durability. Structures built with natural stone often outlast those made with other materials, reducing the need for repairs, replacements, and the associated waste. In landscape architecture, stone features like walls, pathways, driveways, and patios can withstand the elements for decades without losing their integrity or aesthetic appeal. This longevity contributes to the material’s sustainability by minimizing the need for additional resources over time.
Recyclability and Reuse
Another sustainability benefit of natural stone is its recyclability. Unlike many synthetic materials with minimal processing, natural stone can be reused or repurposed. For instance, stone from demolished buildings can be reclaimed and used in new construction, preserving its embodied energy, and reducing the demand for new materials. Additionally, stone’s natural beauty often improves with age, making reclaimed stone a desirable choice for new and restoration projects.
Health and Environmental Benefits
Natural stone is a non-toxic, hypoallergenic material that doesn’t release harmful chemicals or volatile organic compounds (VOCs) into the environment. This makes it a healthy choice for indoor spaces, contributing to better air quality and a more comfortable living environment. Moreover, stone’s natural ability to withstand mold and pests reduces the need for chemical treatments, further enhancing its environmental credentials.
A Timeless Choice for a Sustainable Future
In conclusion, natural stone is not only a material of timeless beauty but also a sustainable choice for modern design and construction. Its minimal environmental impact, combined with its durability, energy efficiency, and recyclability, makes it an ideal material for projects that prioritize sustainability. As we look toward a future where the built environment harmonizes with the natural world, natural stone will continue to play a crucial role in creating spaces that are both enduring and eco-friendly.
By embracing natural stone, architects, landscape designers, and builders can contribute to a more sustainable future, where beauty, function, and environmental stewardship coexist in perfect balance.
Get in touch with us to explore the range of stone options we can produce for your project.
Find out more about sustainable natural stone from the Natural Stone Institute.