The Revival of Beige Natural Stone: Trend for Outdoor and Interior Living Spaces
In recent years, neutral and light earth tones have made a strong comeback as a design favorite for interior and outdoor living spaces. Renowned for its elegance, versatility, and neutral tones, beige stone offers a sense of calm and timelessness that blends beautifully with a variety of styles. Whether in contemporary or traditional spaces, these neutral tones, are once again, proving to be the timeless staple in design that balances modernity with nature. Let’s explore how this comeback is shaping interior and outdoor living trends.
Why Beige Natural Stone?
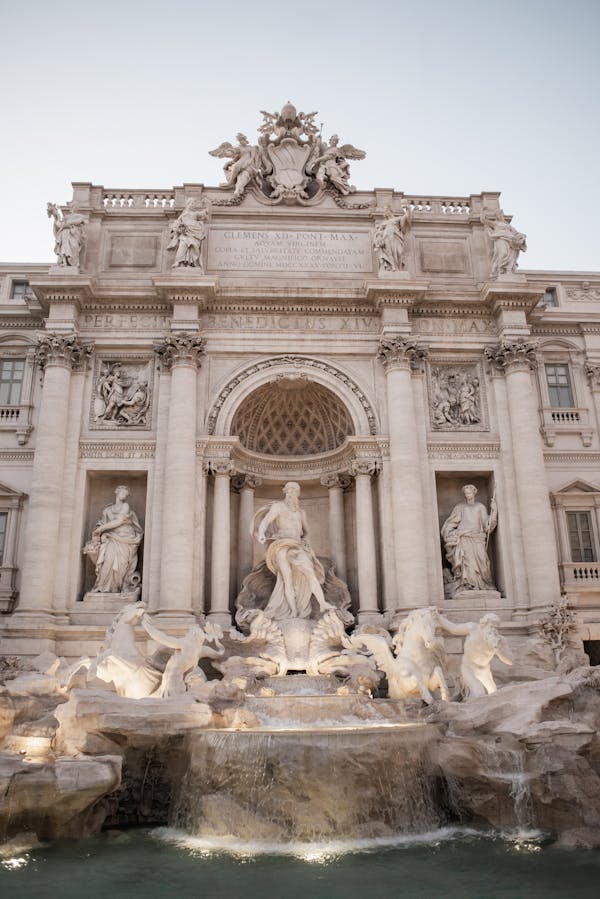
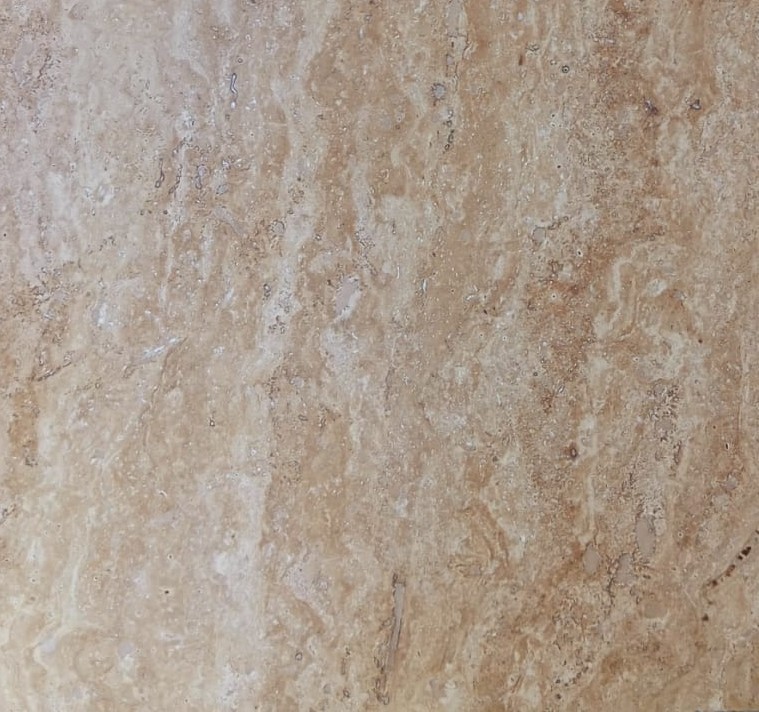
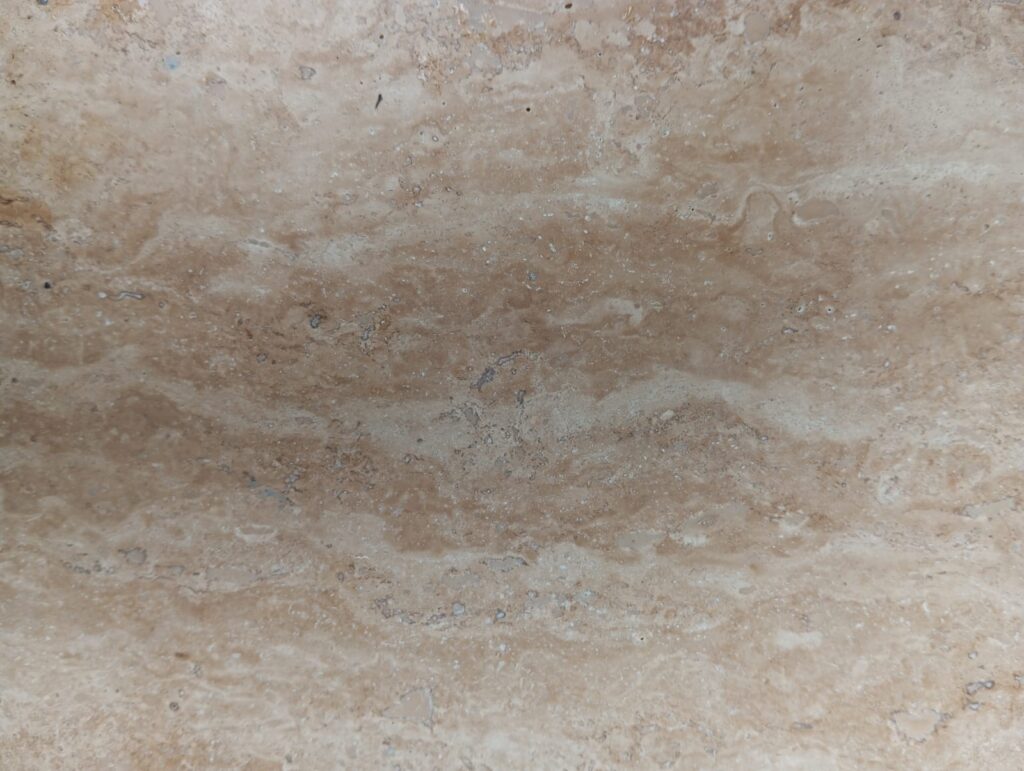
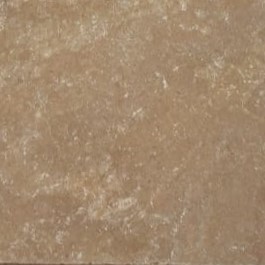
Beige natural stone, including limestone, travertine, and sandstone is celebrated for its neutral color palette. Its light, warm tones evoke calm and tranquility, making it the perfect canvas for various design aesthetics. Beige stone has an inherent ability to soften spaces, making them feel more open and inviting. It brings warmth, depth, and character without overwhelming a design with bold colors or patterns.
This subtle elegance sets beige natural stone apart, making it a timeless choice for modern and classic settings. It harmonizes beautifully with other materials such as wood, metal, and glass, offering a cohesive design that feels sophisticated and grounded.
Beige Natural Stone in Interior Design
1. Flooring
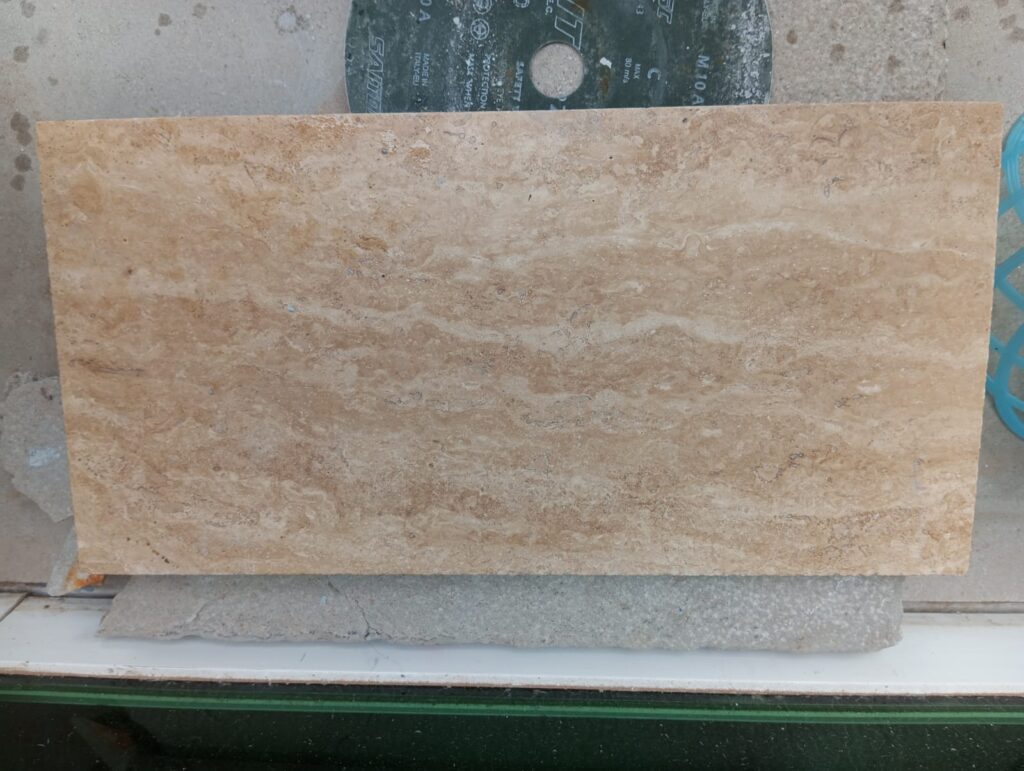
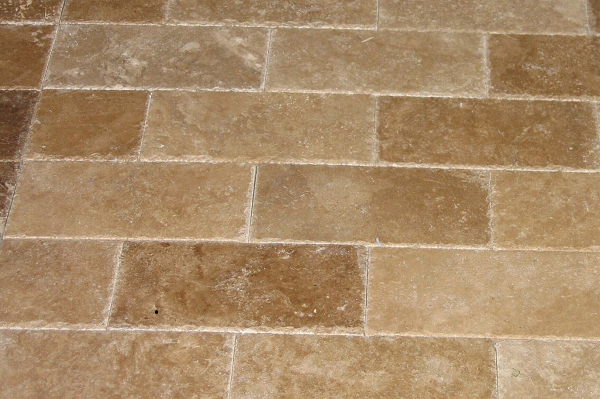
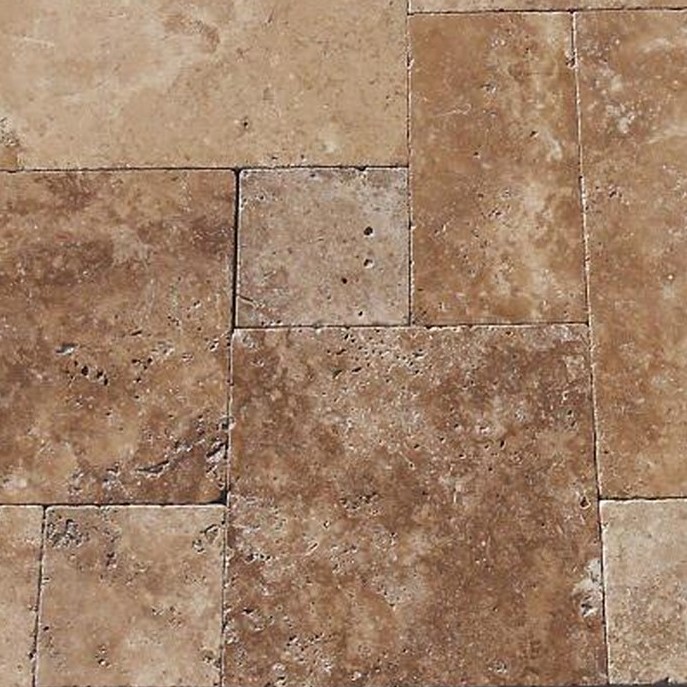
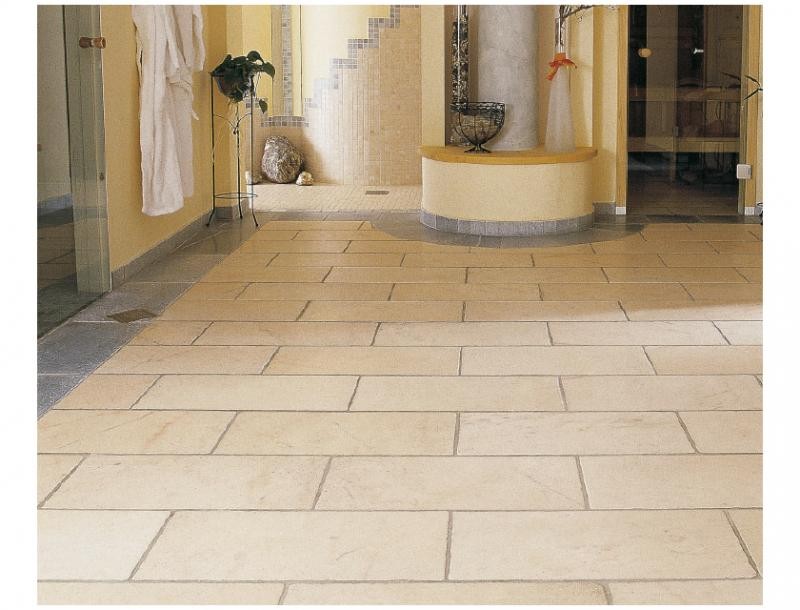
Beige stone flooring has been a long-time favorite, especially for open-plan layouts that require a cohesive flow between rooms. Stones like travertine or marble add an understated luxury while creating a neutral foundation that allows other elements like furniture, art, and decor to stand out. Its durability and ease of maintenance make it an ideal choice for high-traffic areas such as hallways, living rooms, and kitchens. Beige natural stone can be cut along the grain (vein-cut) which adds another layer of elegance or can be produced crosscut.
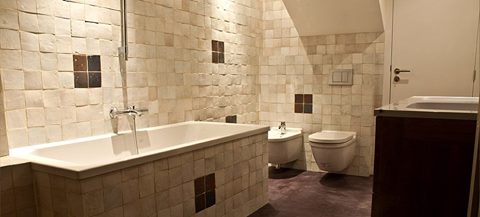
2. Bathroom and Kitchen Countertops
For a calming yet refined look, beige stone countertops are making a resurgence. Beige marble and limestone offer a sleek, polished, or honed look while providing the strength needed for daily use in kitchens and bathrooms. Beige’s warmth brings a softness to these functional spaces, counterbalancing the coldness often associated with hard surfaces.
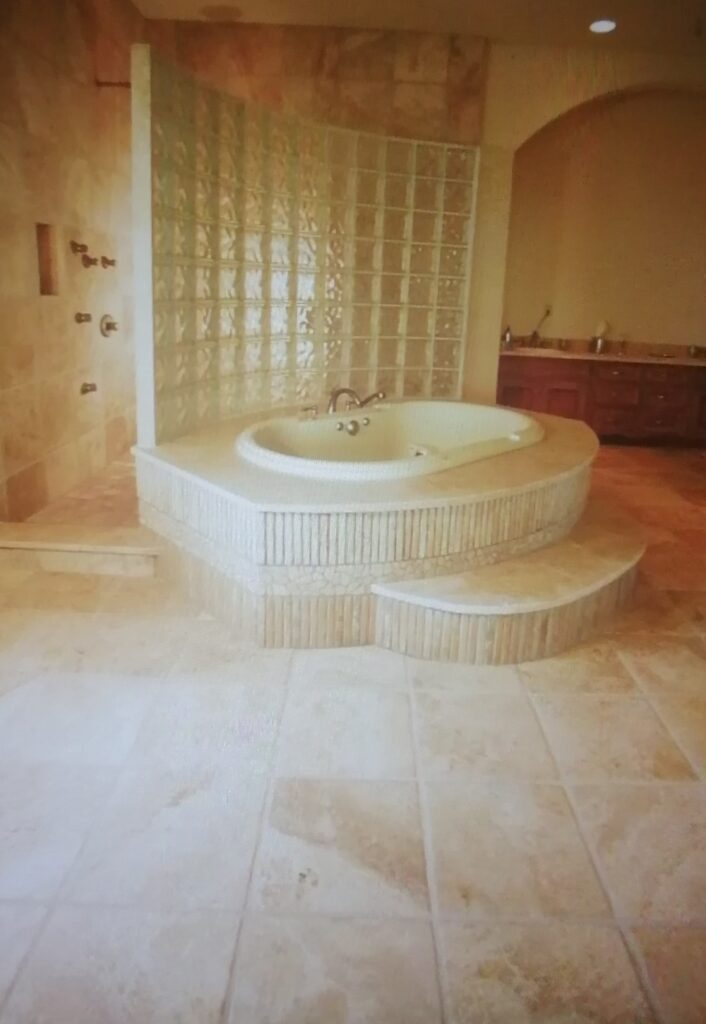
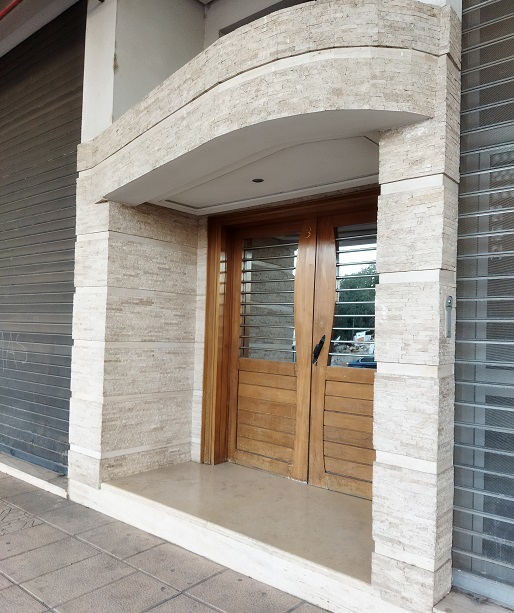
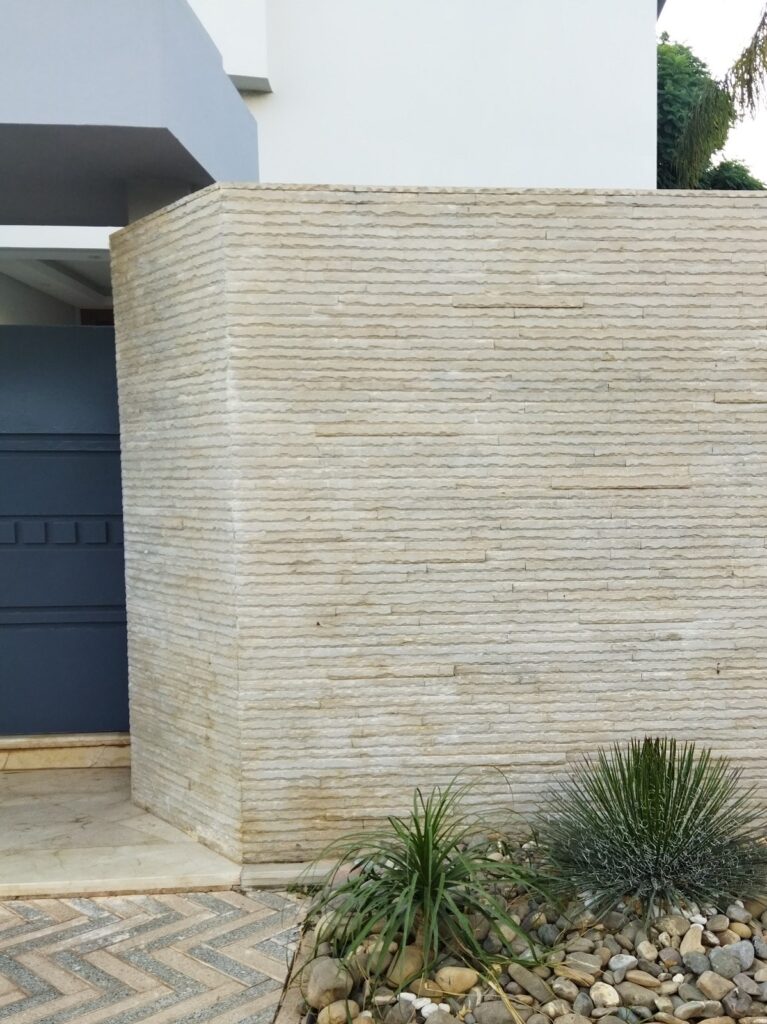
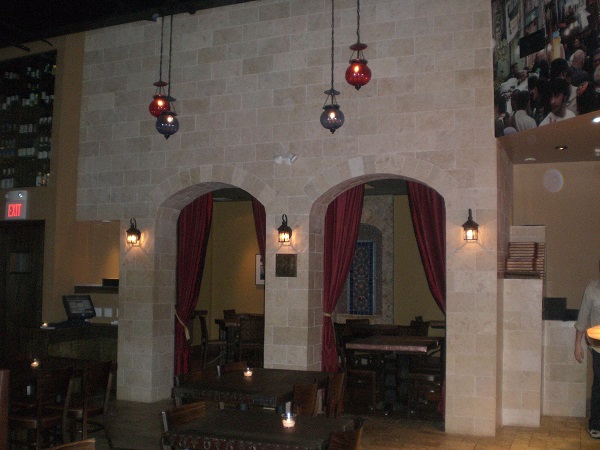
3. Feature Walls and Fireplaces
One of the more dramatic uses of beige or neutral stone in interior design is feature walls and fireplaces. When used in this way, natural stone becomes the focal point, offering texture and depth. Beige stone in large formats can create stunning backdrops in living rooms, bedrooms, or even bathrooms, where the stone’s subtle veining and texture come alive under soft lighting.

Beige Natural Stone in Outdoor Living Spaces
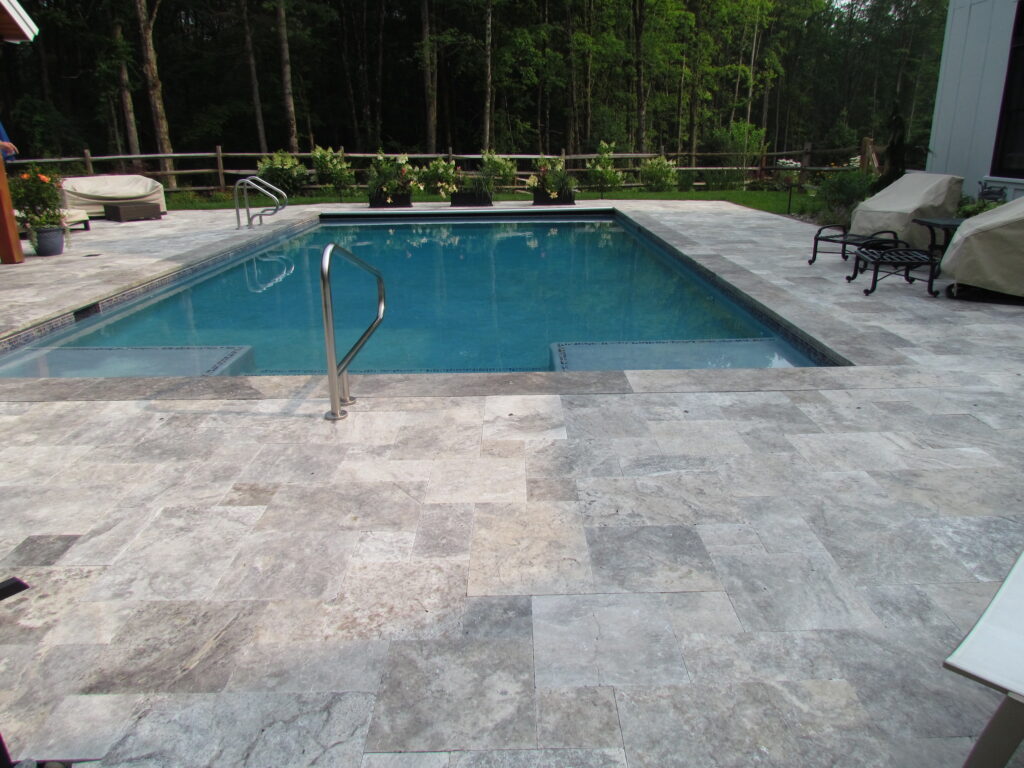
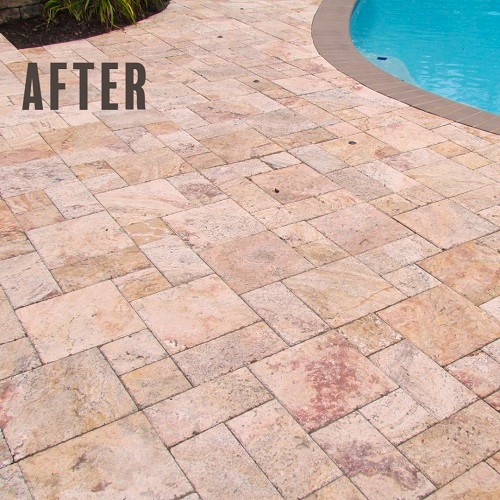
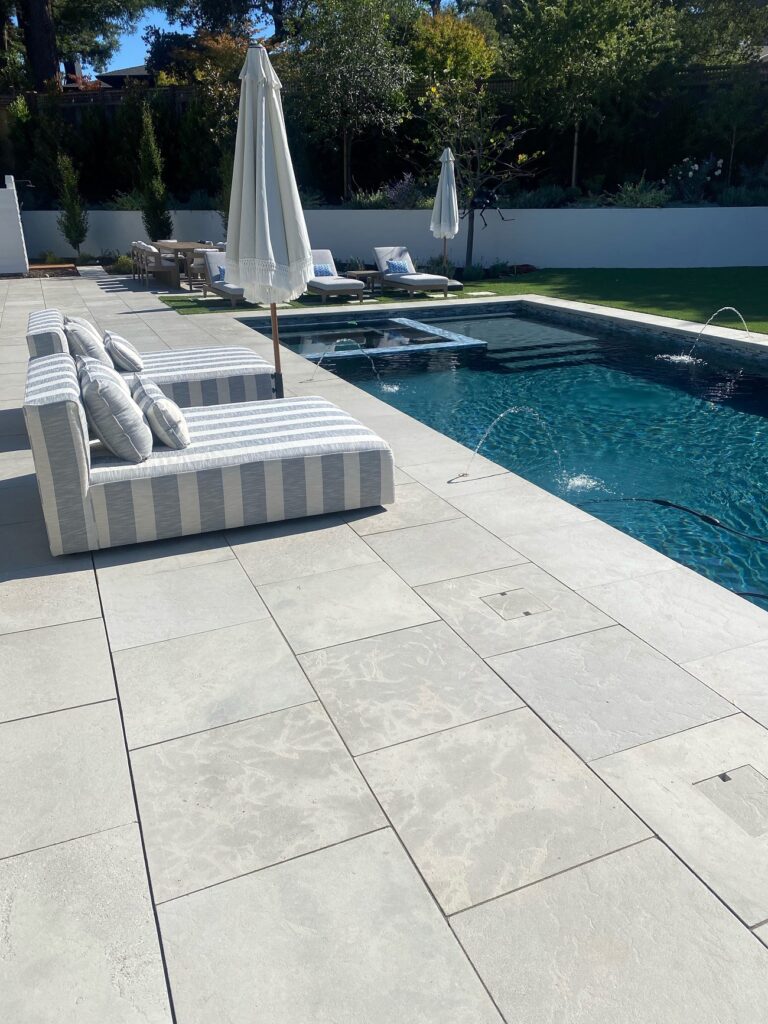
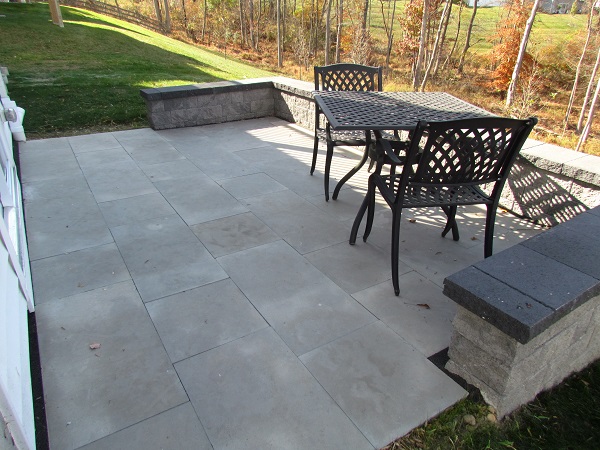
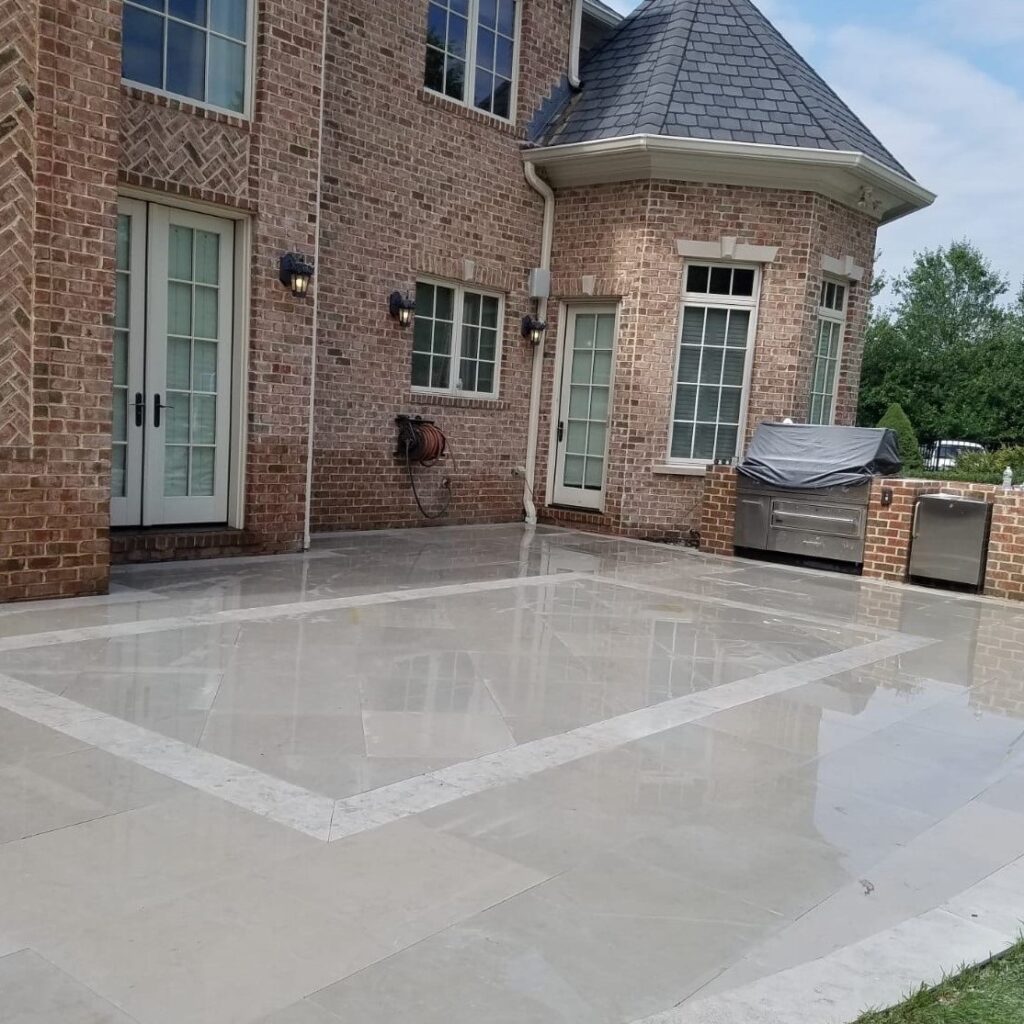
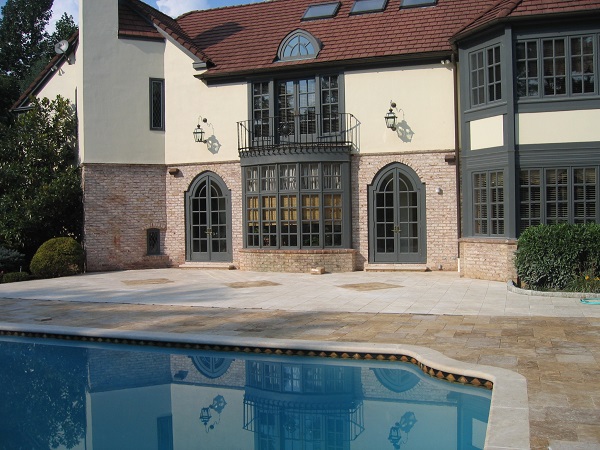
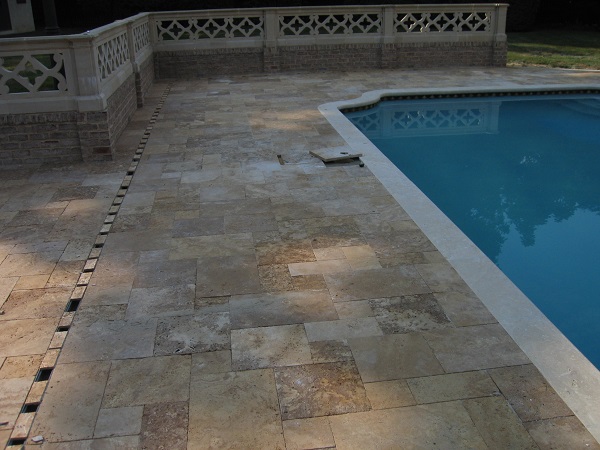
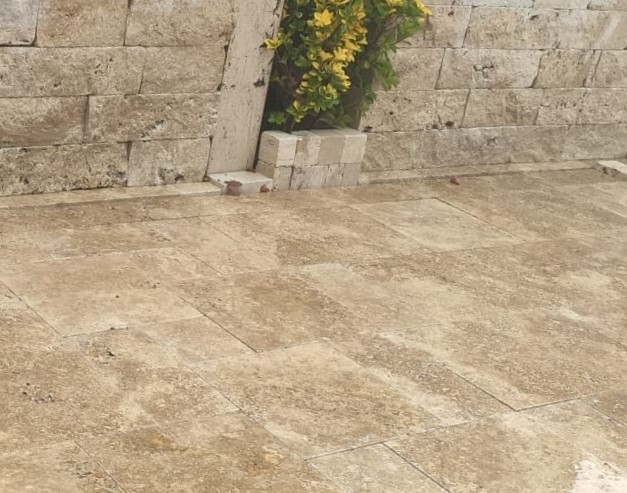
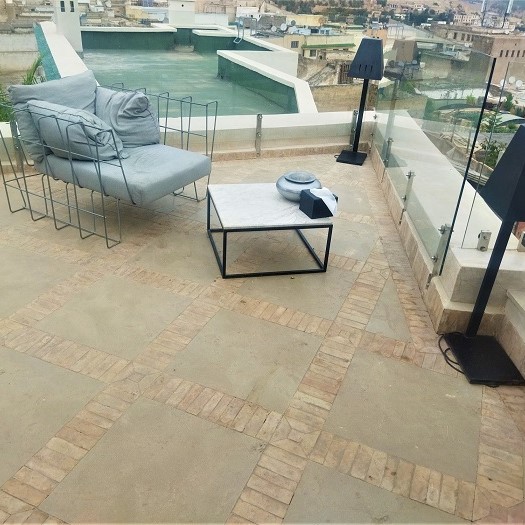
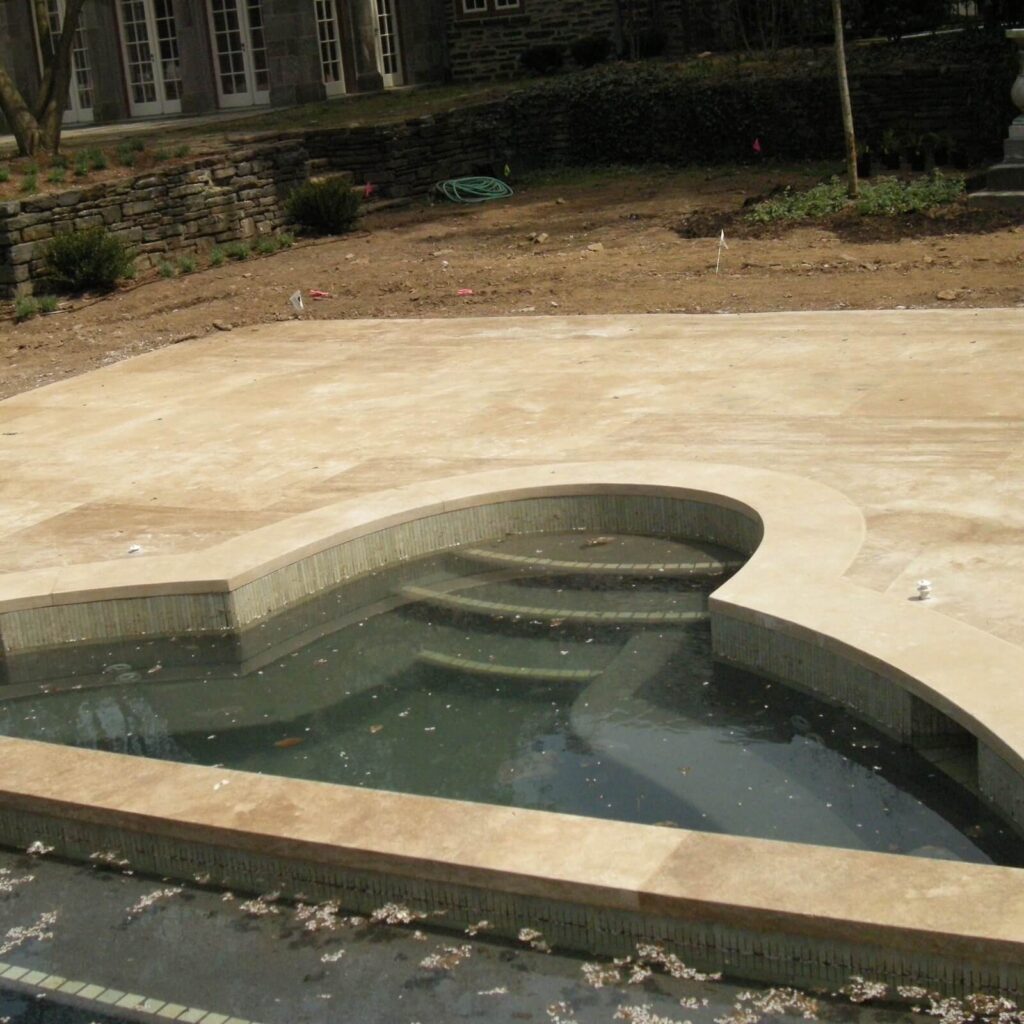
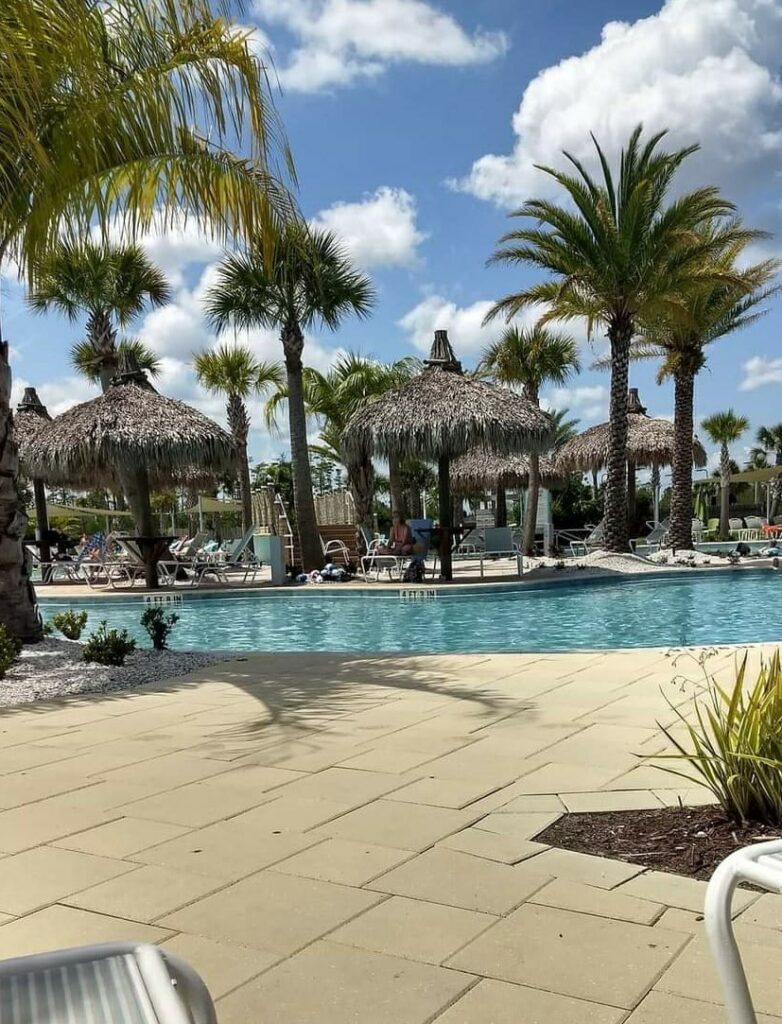
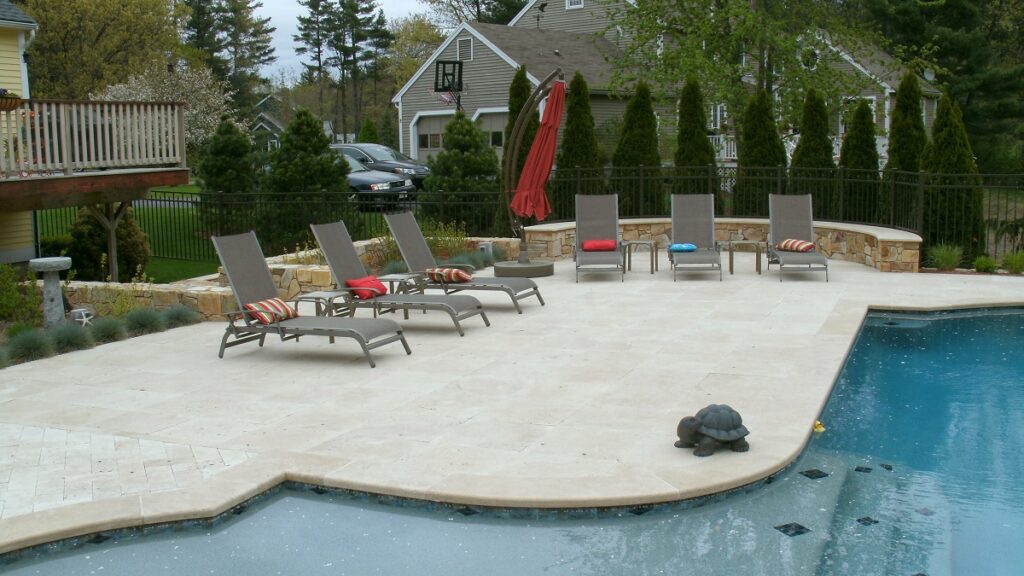
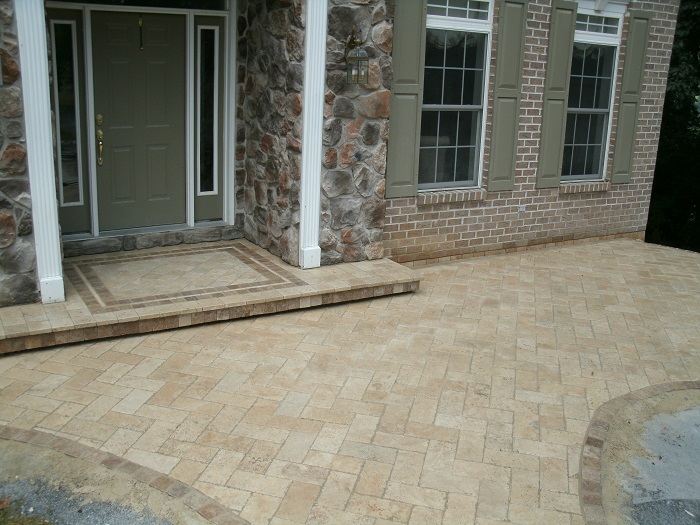
1. Patios and Pool Decks
Beige stone is an excellent choice for patios and pool decks due to its cool tones and natural resistance to heat. Stones like travertine or limestone are particularly popular in Mediterranean and tropical-inspired outdoor spaces. The non-slip texture of some beige stones, along with their natural ability to stay cooler in the sun, makes them perfect for barefoot walks and decks around the pool.
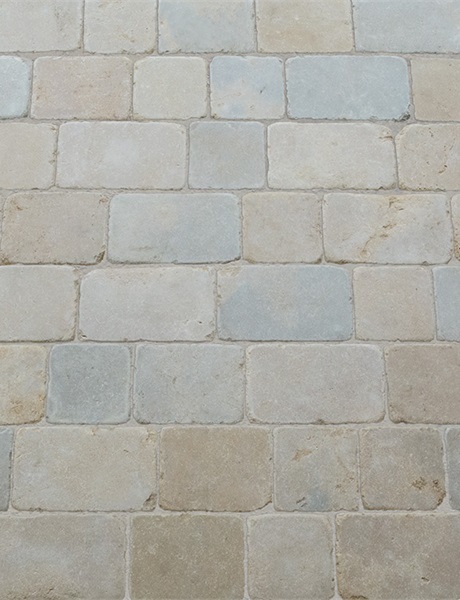
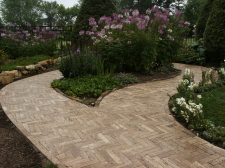
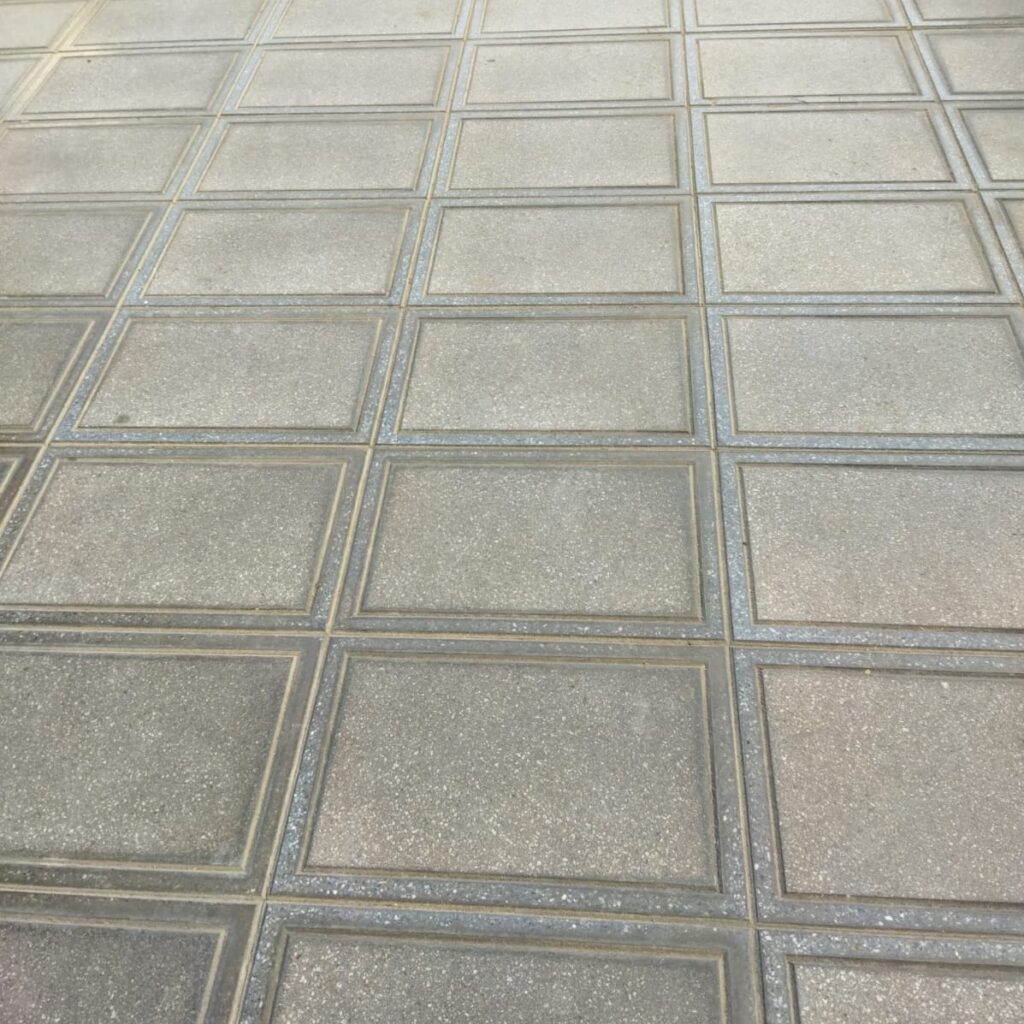
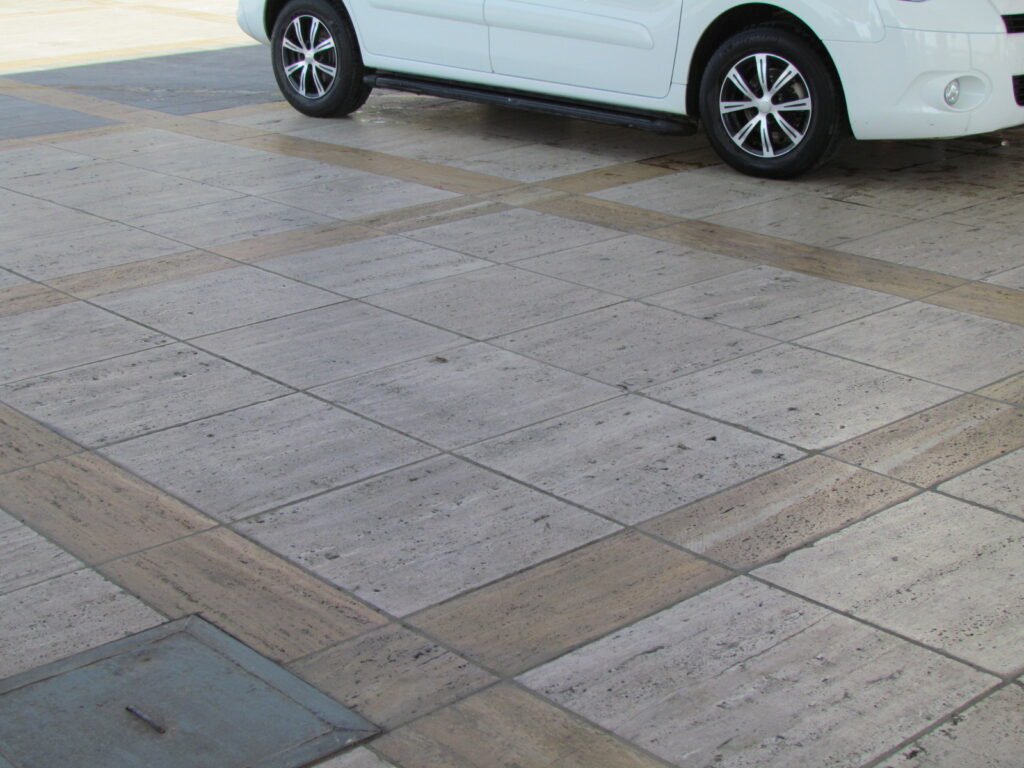
2. Walkways and Driveways
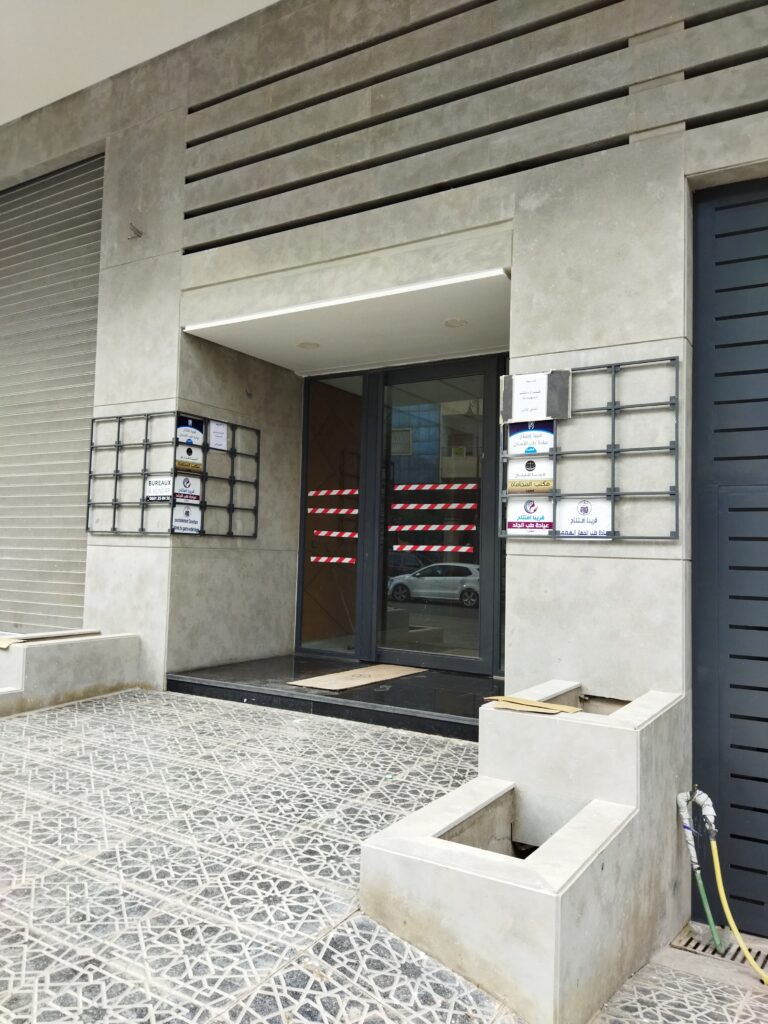
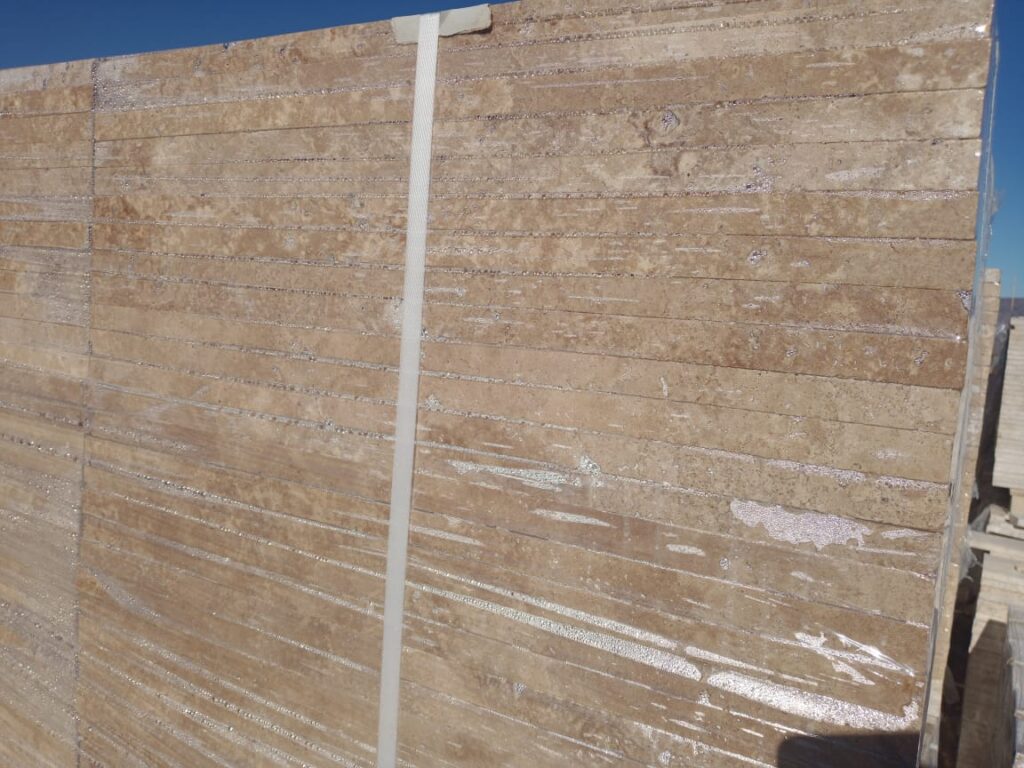
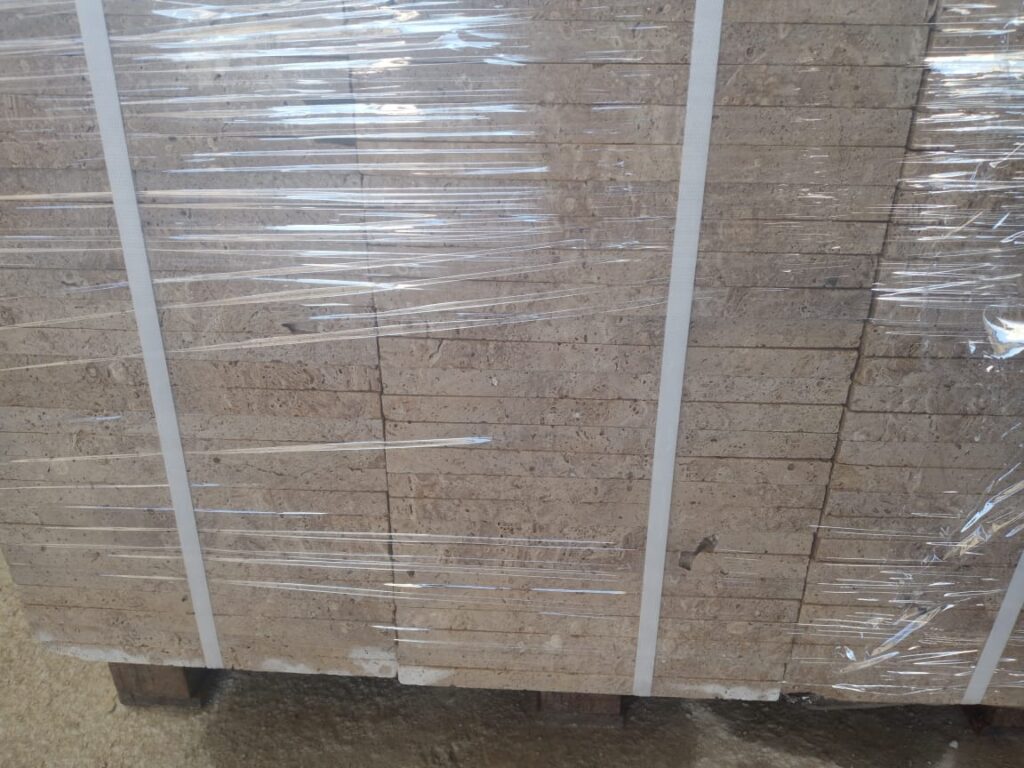
For a cohesive look that extends from the inside of your home to the outside, beige stone walkways and driveways offer a seamless transition. Travertine or limestone pavers are durable, weather-resistant, and add a touch of sophistication to outdoor pathways and driveways. They blend effortlessly with surrounding landscapes, gardens, and green spaces, creating a natural, organic aesthetic. . Like all of our colors, beige natural stone can be produced in a variety of thicknesses, depending on the application. For example, a driveway application for travertine or limestone is cut at 2” or 2.5” thick.
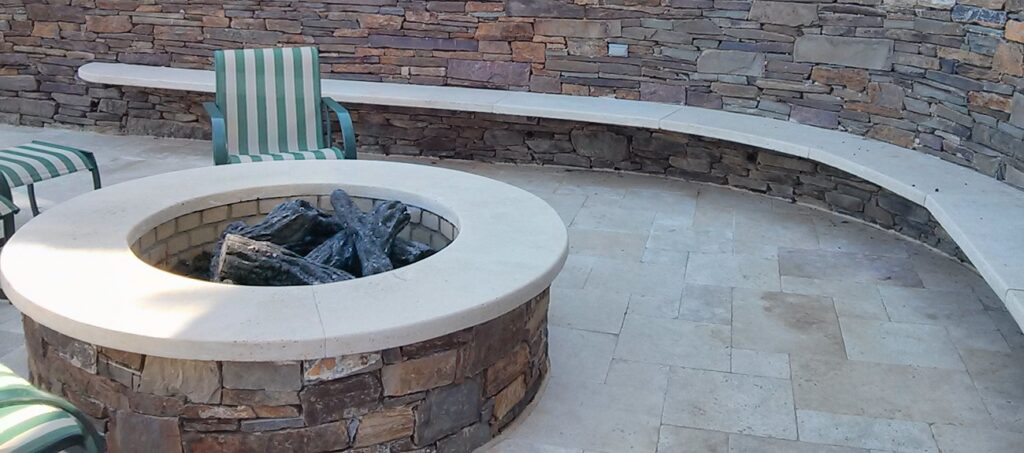
3. Outdoor Kitchens and Fire Pits
Outdoor living spaces have become an extension of the home, and beige stone fits beautifully into these environments. Stone countertops and cladding in beige tones can be used in outdoor kitchens, fireplaces, and fire pits, offering both durability and beauty. Beige stone’s natural resistance to extreme weather conditions makes it a reliable option for outdoor structures, ensuring that your design looks great year-round.
Pairing Beige Stone with Modern Elements
The resurgence of beige stone in design doesn’t mean a return to the past. Designers are finding innovative ways to incorporate beige natural stone into modern and minimalist styles. Here’s how to make a beige stone feel fresh and contemporary:
– Contrast with Dark Elements: Pair beige stone with darker hues like charcoal, black, or navy for a striking contrast that modernizes the space. This works particularly well in kitchens and bathrooms.
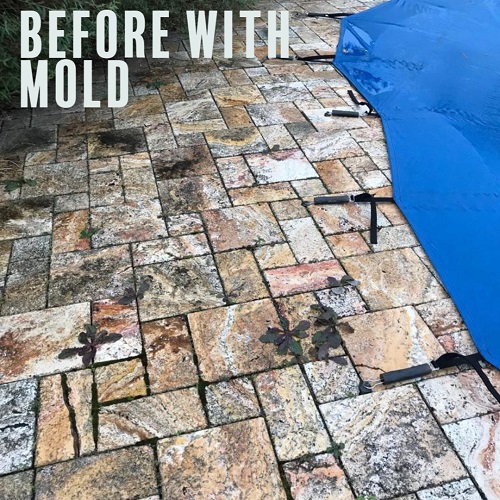
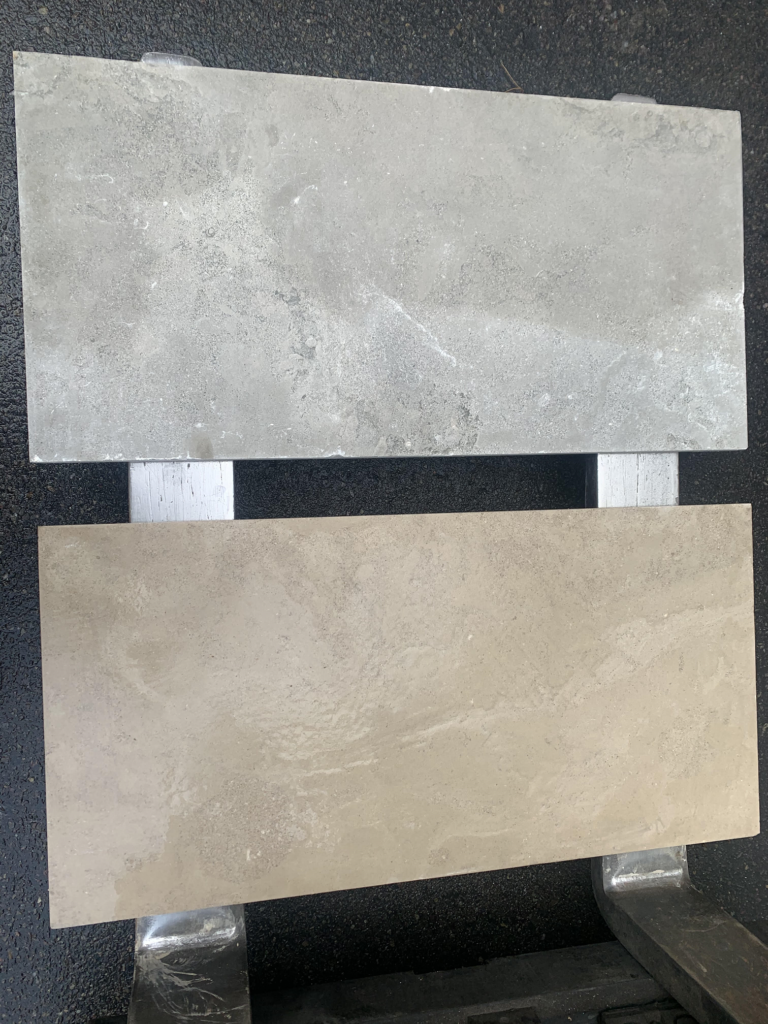
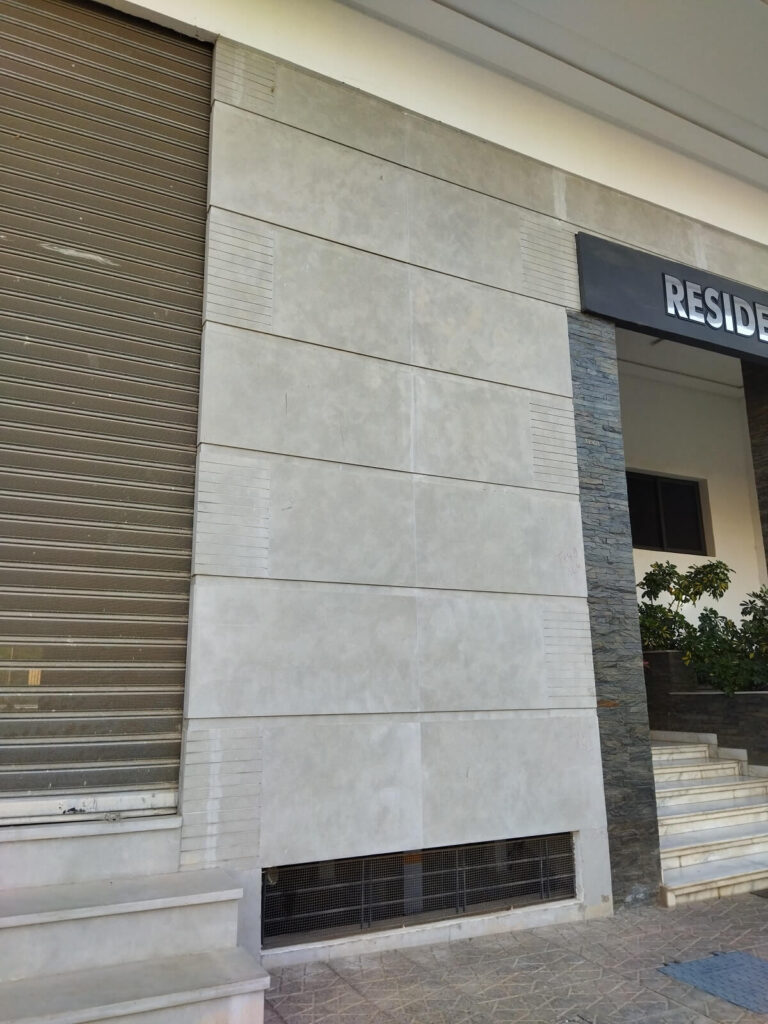
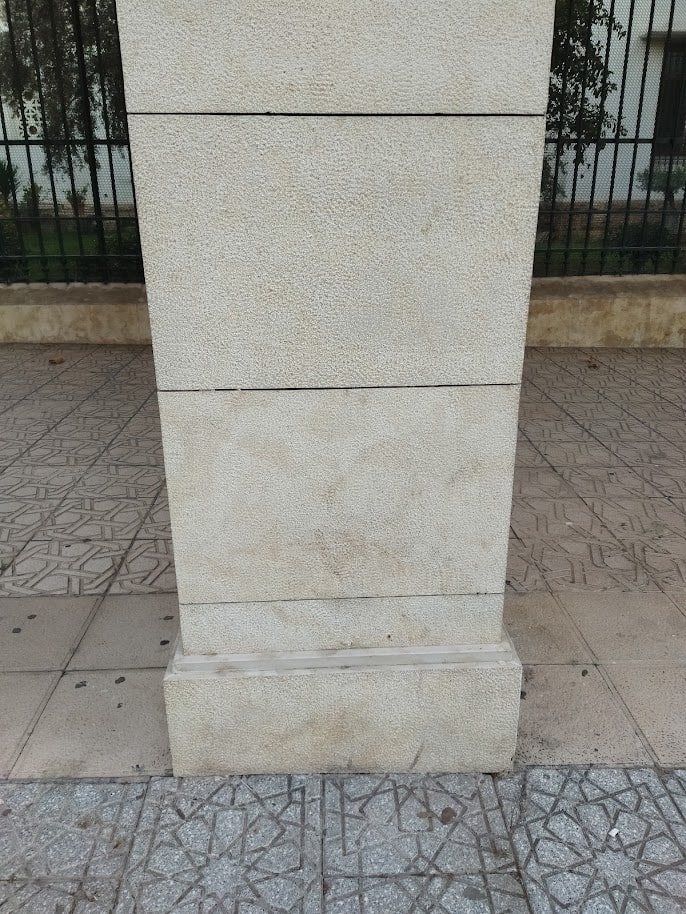
– The Impact of Surface Finishes on the Aesthetic and Functional Qualities of Natural Stone: Surface finishes play a crucial role in enhancing both the aesthetic appeal and functional performance of natural stone. Different finishes, such as honed, Ancient Etruscan, or bush hammer, can dramatically alter the appearance of the stone, bringing out unique textures, colors, and patterns.
A polished finish gives the stone a glossy, reflective surface, ideal for spaces requiring elegance and a modern look, while a honed finish offers a matte appearance with a softer, more understated feel such as SUREGRIP MOLESKINtm. Functionally, certain finishes can improve slip resistance, making stone surfaces safer for outdoor use or high-traffic areas such as bush hammer surface finish. The choice of finish can also affect the stone’s durability and how well it resists weathering or staining, making surface finishes not only a design consideration but a practical one as well.
– Add Metallic Accents: Bronze, copper, and gold fixtures and accents beautifully complement the warmth of the beige stone, adding a contemporary edge to both interior and exterior designs.
– Blend with Organic Materials: To emphasize the natural feel, pair beige stone with organic materials like wood, greenery, and natural fabrics. This creates a seamless transition between indoor and outdoor spaces, enhancing the stone’s earthy appeal.
Beige Stone: A Sustainable Choice
One of the key reasons beige natural stone is making a comeback is its eco-friendliness. Natural stone is a sustainable material. Unlike synthetic materials, natural stone can last a lifetime, reducing the need for replacements or repairs. It can also be recycled, making it a green choice for environmentally-conscious homeowners and designers.
Conclusion
The beige natural stone comeback is a testament to the enduring appeal of neutral, earthy tones in design. Its versatility allows it to complement a wide range of aesthetics, from traditional to modern, while its natural warmth adds a timeless elegance to any space. Whether you’re looking to refresh your interiors or create a serene outdoor retreat, beige natural stone offers a sophisticated, durable, and sustainable option that stands the test of time.